
Are you tired of struggling to fit your kayak into your car for those weekend adventures? You’re not alone.
Many kayak enthusiasts face the same challenge. But what if I told you there’s a simple solution that could save you time and hassle? Installing a kayak rack could be the game-changer you’ve been searching for. Imagine effortlessly loading and unloading your kayak, knowing it’s securely fastened for the drive ahead.
In this guide, you’ll discover the step-by-step process to install a kayak rack, making your next trip to the water smoother and more enjoyable. With the right tools and a little know-how, you’ll be ready to hit the road with confidence. Ready to transform your kayaking experience? Let’s dive in!
Choosing The Right Kayak Rack
Installing a kayak rack requires careful planning and precision. Secure the rack to your vehicle using the right tools. Ensure all bolts are tight for safe transportation.
Choosing the right kayak rack is crucial for safe transportation. The perfect rack depends on your vehicle, kayak size, and usage frequency. This guide helps you decide the best kayak rack for your needs.Types Of Kayak Racks
There are several types of kayak racks available:- J-Cradles: These hold the kayak at an angle. They are space-efficient and secure.
- Saddles: These support the kayak from the bottom. They provide stability and are easy to load.
- Stackers: These allow multiple kayaks to be loaded vertically. Ideal for carrying more than one kayak.
- Temporary Pads: These are foam or inflatable pads. They are great for short trips and occasional use.
Factors To Consider
Consider these factors before choosing a kayak rack:- Vehicle Type: Ensure compatibility with your car’s roof type. Some racks are vehicle-specific.
- Kayak Size and Weight: Ensure the rack can support your kayak’s dimensions and weight.
- Installation Ease: Some racks are easier to install than others. Consider your comfort level with installation.
- Frequency of Use: Choose a durable rack if you use it often. Temporary pads are good for occasional use.
- Budget: Racks vary in price. Choose one that fits your budget without compromising safety.
Preparing For Installation
Gather necessary tools and check the kayak rack parts. Ensure the vehicle is parked on a flat surface. Read the manufacturer’s instructions carefully to understand the installation steps.
Preparing to install a kayak rack is a crucial step. Proper preparation ensures a smooth and safe installation process. Before diving in, it’s essential to have everything ready and organized. This will save time and prevent potential mishaps during the installation.Gathering Necessary Tools
Start by collecting all the tools you’ll need. Common tools include a wrench, screwdriver, and measuring tape. Check the kayak rack’s manual for specific tools required. Having the right tools ensures the rack is installed securely. Lay them out in your workspace for easy access.Safety Precautions
Safety should always come first. Wear gloves to protect your hands from sharp edges. Ensure the vehicle is on a flat surface to prevent movement. This stability is crucial during installation. Keep the workspace clear of unnecessary items. A clutter-free area reduces the risk of accidents.Assembling The Kayak Rack
Assembling a kayak rack involves choosing the right location and securing it firmly. Carefully attach the rack components to ensure stability. Ensure all bolts and screws are tightened properly for safe kayak storage.
Assembling a kayak rack might seem complex, but it’s easier than it appears. The key is patience and attention to detail. A well-assembled rack ensures your kayak stays secure during transport. Follow these steps for a smooth assembly process.Following Manufacturer Instructions
Begin by reading the manufacturer’s instructions carefully. Each kayak rack has unique components and assembly requirements. Identify all parts and check them against the list provided. Use the correct tools specified in the guide. This ensures each piece fits properly. Follow each step in sequence to avoid errors.Common Assembly Mistakes
Avoid overtightening bolts, which can damage the rack. Ensure all parts align correctly before securing them. Misalignment can cause instability and noise during travel. Double-check all connections after assembly. Loose parts can lead to accidents on the road. Test the rack’s stability by gently shaking it. If it wobbles, revisit the assembly steps.Attaching The Rack To Your Vehicle
Secure the kayak rack by aligning it with your vehicle’s roof bars. Tighten all straps and bolts firmly for stability. Check the rack’s position to ensure it’s balanced and ready for transport.
Attaching the kayak rack to your vehicle is a key step. This ensures your kayak is safe during transport. Proper attachment prevents accidents and damage. Let’s explore how to do this correctly.Positioning The Rack
Start by selecting a flat, stable spot on your roof. Make sure the area is clean and dry. This helps the rack grip better. Use a measuring tape to center the rack. Ensure equal distance from both sides of the roof. This keeps the rack balanced. Check that the rack is aligned with the vehicle’s length. It should be straight, not tilted. This positioning helps in maintaining stability. Follow the manufacturer’s instructions for specific measurements.Securing The Rack
Once positioned, begin securing the rack. Use the provided clamps or straps. Tighten them firmly to avoid movement. Ensure the clamps grip the roof rails tightly. This prevents the rack from shifting. Double-check all attachments. Wiggle the rack slightly to test its stability. If it moves, tighten the straps again. Properly secured racks provide peace of mind. They keep your kayak safe and secure.Loading Your Kayak
Installing a kayak rack ensures safe transport. Choose a sturdy rack compatible with your vehicle. Follow the manufacturer’s instructions for secure attachment.
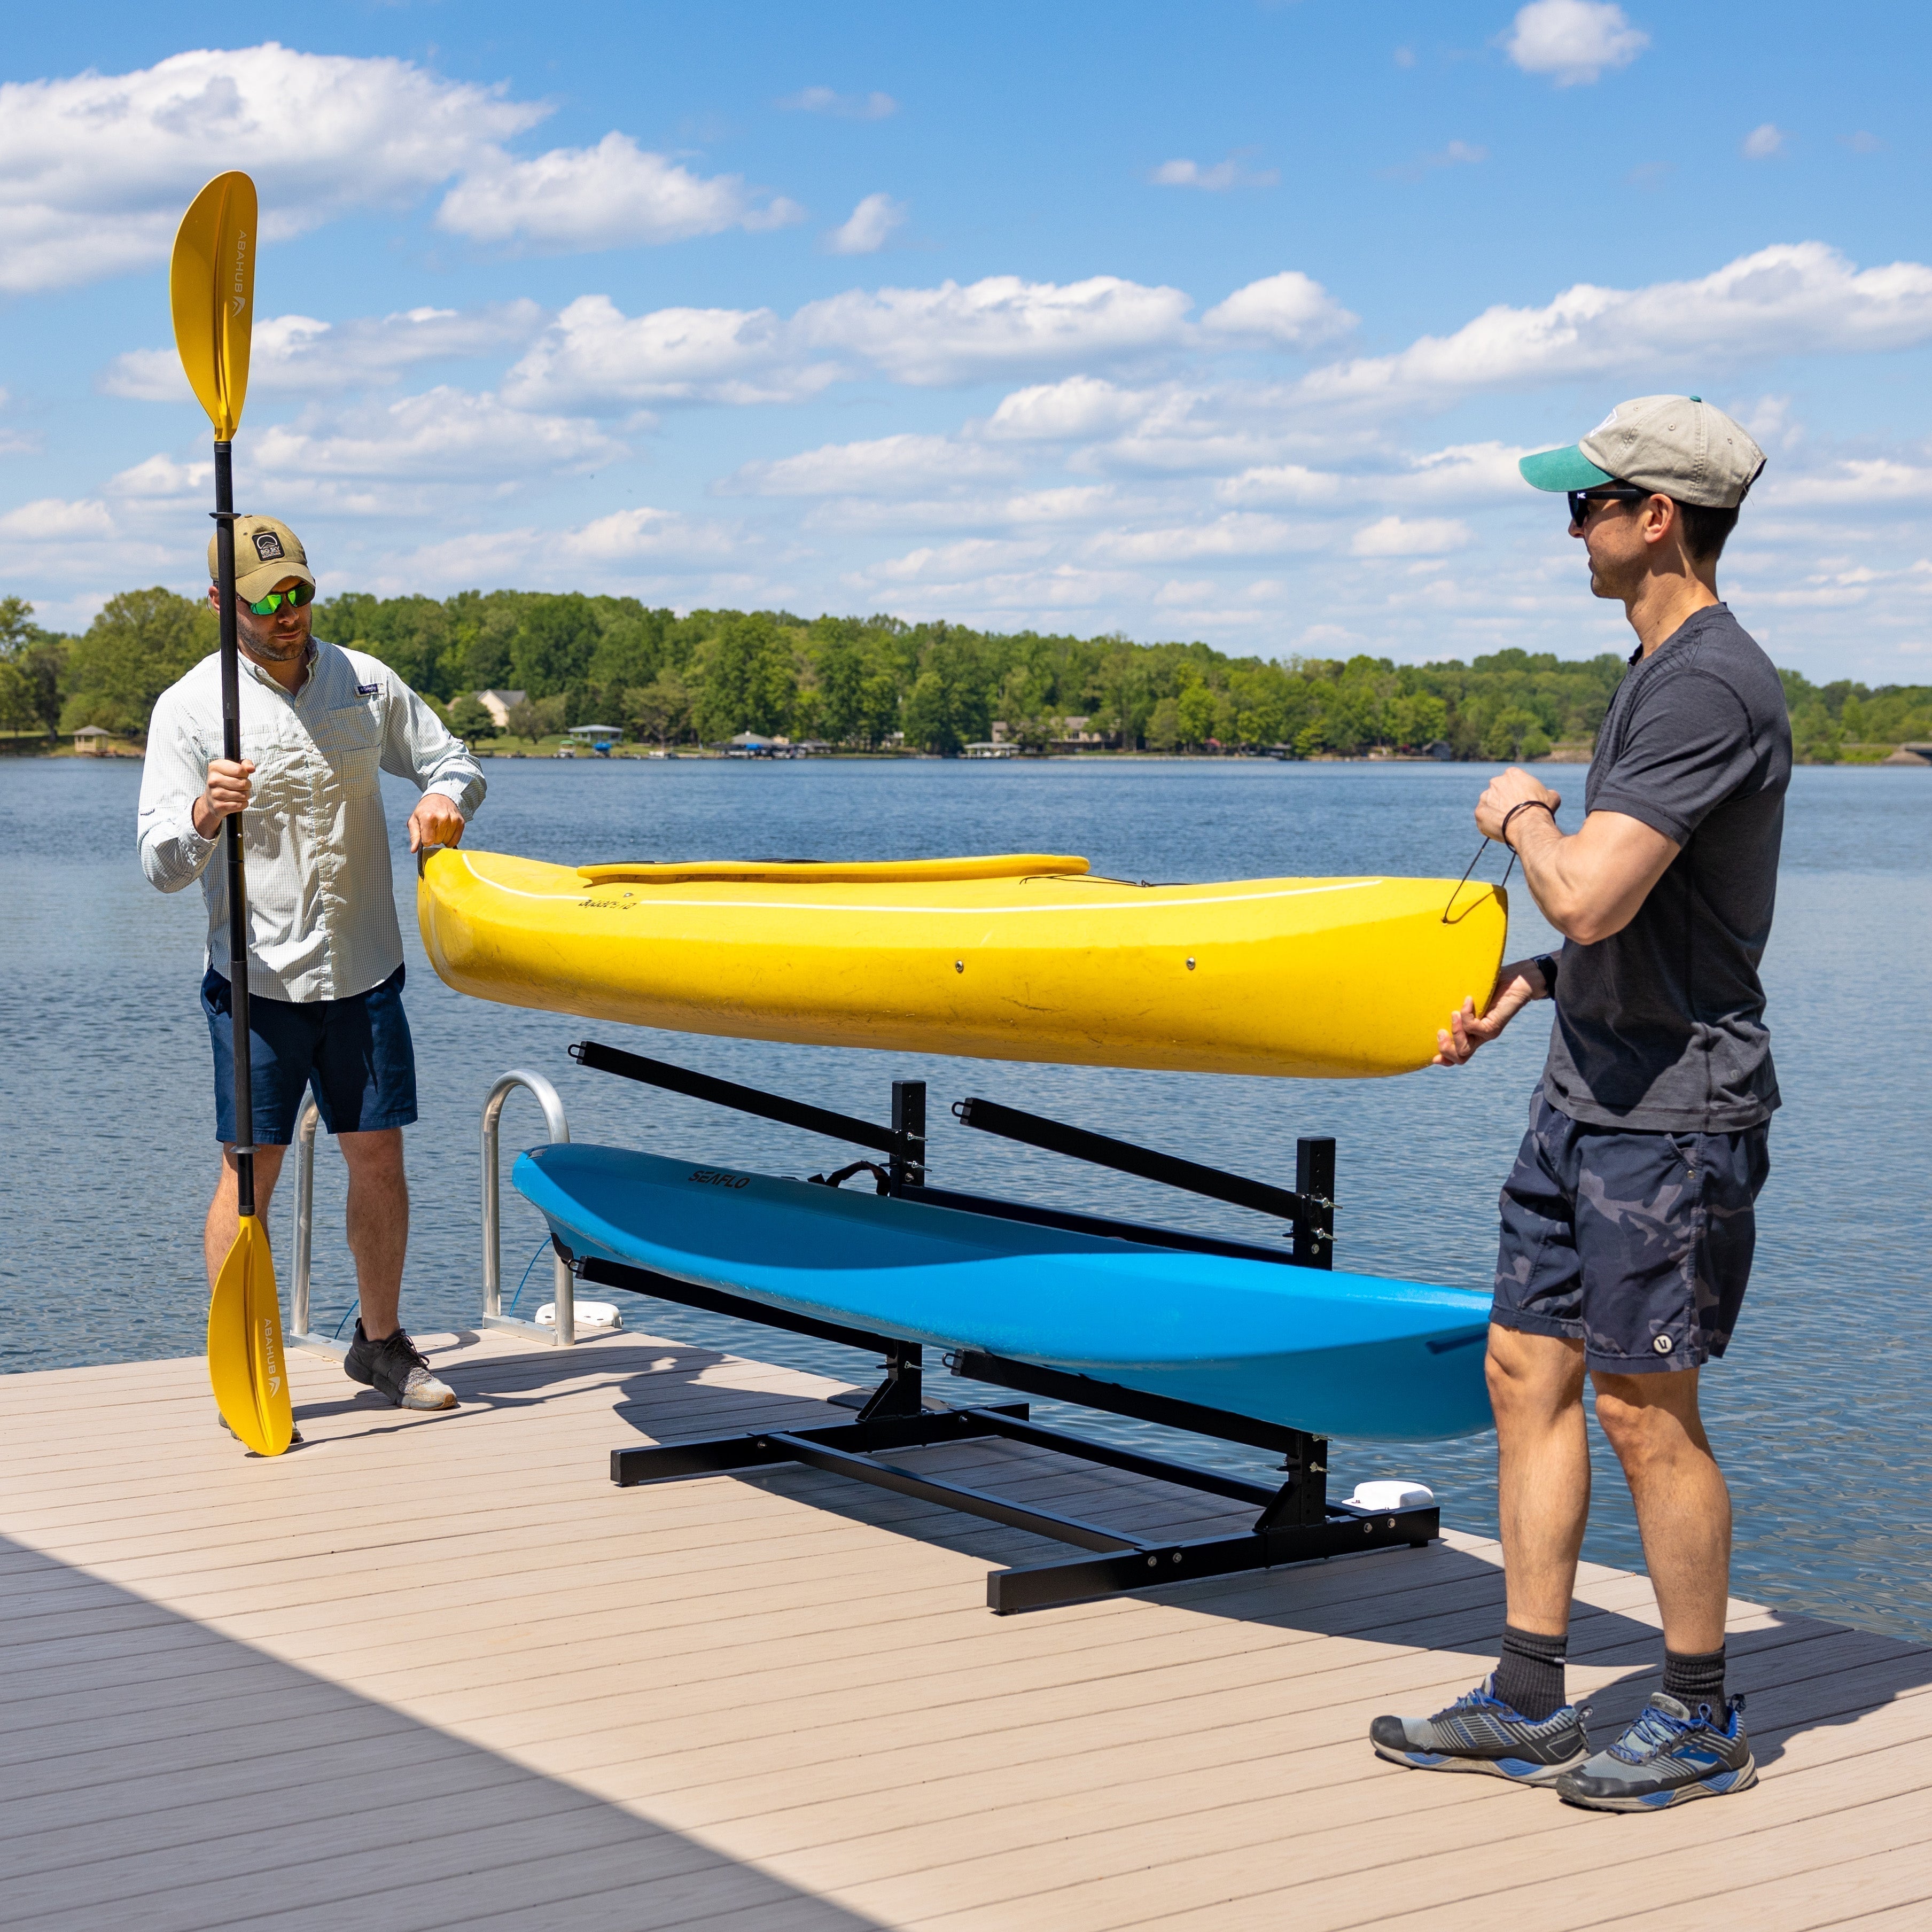
Loading your kayak onto a rack might seem daunting, but with the right techniques, it can become a smooth and efficient process. Whether you’re a seasoned kayaker or a beginner, understanding how to properly load your kayak can make all the difference in ensuring safety and ease during transport.Proper Loading Techniques
When loading your kayak, balance is key. Start by positioning your kayak at a slight angle to the rack. This gives you better leverage and control. Lift the kayak from the cockpit area, as this is its center of gravity. If you’re working with a friend, coordinate the lift—one person at the front and the other at the back. Tip: Use your legs to lift, not your back. This reduces the risk of injury. Once the kayak is on the rack, make sure it’s centered. An off-center kayak can lead to complications on the road. Double-check the positioning before securing it in place.Ensuring Stability
Your kayak’s stability on the rack is crucial for safe transport. Use quality straps or tie-downs to secure it firmly. Wrap the straps around the kayak and rack, pulling them tight. Test the security by giving the kayak a gentle shake; it should feel solid and unmoving. Consider: What happens if your kayak shifts during transport? Proper stability prevents this. For extra assurance, use bow and stern lines to provide additional support. These lines help keep your kayak in place, especially during high-speed travel or windy conditions. Always inspect the straps and lines for wear and tear to avoid surprises on the road. By mastering these techniques, you ensure your kayaking adventures start on a positive note, right from the loading process.
Credit: www.youtube.com
Checking Your Installation
Once you’ve installed your kayak rack, it’s crucial to check the installation to ensure safety and functionality. This step is not just about confirming the rack is securely attached; it’s about making sure you can trust it with your valuable kayak and your peace of mind. Think of it like double-checking your seatbelt before a road trip. Ready to dive into the specifics?
Safety Checks
Begin by inspecting each attachment point. Ensure all screws and bolts are tight and secure. Loose hardware can lead to dangerous situations on the road.
Next, give your rack a gentle shake. It should feel sturdy and immovable. If it wobbles or shifts, tighten any loose parts immediately.
Consider the weather conditions you’ll face. Are your materials rust-proof or weather-resistant? If not, you might need to make adjustments or apply protective coatings.
Adjustments And Final Touches
Now, adjust the rack to fit your kayak snugly. Ensure it cradles your kayak comfortably without exerting too much pressure at any point.
Think about accessibility. Can you easily load and unload your kayak? Minor adjustments might be necessary to improve ease of use.
Finish off by ensuring there are no sharp edges or protrusions that could damage your kayak during transport. A smooth finish can prevent scratches and dents.
Maintenance Tips
Ensure you have all necessary tools and parts ready. Align the kayak rack with the vehicle’s roof rails. Securely tighten all bolts and straps, checking for stability. Confirm proper placement to avoid movement or damage during transit. Regularly inspect the rack for wear and adjust as needed.
Maintaining your kayak rack is crucial for its longevity. Proper care ensures safe transport of your kayak. Regular upkeep can prevent potential damage and costly repairs. Follow these maintenance tips to keep your kayak rack in top shape.Regular Inspections
Inspect your kayak rack frequently. Look for signs of wear or damage. Check bolts and screws for tightness. Examine straps for fraying or weakening. Ensure all parts are secure and functioning. A quick inspection can catch issues early.Cleaning And Care
Clean your kayak rack regularly. Use mild soap and water to wash it. Remove dirt and grime from all surfaces. Dry thoroughly to prevent rust. Lubricate moving parts to keep them smooth. Proper cleaning extends the life of your rack.
Credit: www.baysports.com.au
Credit: storeyourboard.com
Frequently Asked Questions
How To Properly Put Kayaks On A Roof Rack?
Place kayaks upside-down on the roof rack. Secure them with straps tightly around the rack bars. Ensure balanced weight distribution. Use bow and stern lines for extra security. Double-check all straps and lines for safety.
Can I Install A Roof Rack Myself?
Yes, you can install a roof rack yourself. Follow the manufacturer’s instructions carefully. Ensure compatibility with your vehicle and tools. Proper installation is crucial for safety. Consider professional help if unsure or lacking tools.
How Far Apart Should Kayak Racks Be Placed?
Place kayak racks 4 to 6 feet apart for optimal stability. This spacing supports the kayak’s weight evenly. Adjust based on kayak length for best results.
What Do You Need To Install A Kayak Holder On Your Car?
To install a kayak holder on your car, you’ll need a roof rack system. Ensure it fits your car’s model. Gather tools like a wrench or screwdriver. Follow the manufacturer’s installation instructions. Always secure the kayak properly to avoid damage or accidents.
Conclusion
Installing a kayak rack is simple with the right steps. Secure your tools first. Follow the instructions carefully. Double-check each attachment for safety. A properly installed rack ensures safe transport. This keeps your kayak secure while driving. Regularly inspect the rack for wear and tear.
It prolongs the life of your equipment. Now, enjoy more water adventures with ease. Safe travels and happy paddling!


