
Are you dreaming of gliding across serene waters in your very own kayak? Imagine the satisfaction of paddling a vessel crafted by your own hands.
Building a kayak might seem like a daunting task, but it can be a rewarding project that not only saves you money but also gives you a unique sense of accomplishment. This guide will walk you through the essential steps, ensuring that by the end, you’re not just a reader, but a kayak builder ready to take on the waves.
Dive in, and discover how you can transform simple materials into your personal masterpiece. Let’s turn your kayak dreams into reality!
Choosing The Right Materials
Building your own kayak is an exciting venture, but choosing the right materials can make or break your project. The materials you select will impact the kayak’s performance, durability, and weight. It’s not just about finding what’s available; it’s about understanding what fits your needs. Do you prefer a lightweight kayak for easy paddling, or are you looking for something robust that can withstand rocky waters?
Types Of Kayak Materials
When constructing a kayak, you’ll typically choose between wood, fiberglass, and plastic. Each material has unique characteristics that affect the building process and the kayak’s overall functionality.
- Wood:Often chosen for its natural beauty and buoyancy. It’s a popular choice for traditionalists who appreciate craftsmanship.
- Fiberglass:Known for its strength and flexibility. It provides a smooth finish and is lightweight, making it ideal for those who prioritize speed.
- Plastic:Durable and cost-effective, perfect for beginners. It’s resistant to impact and requires minimal maintenance.
Pros And Cons Of Each Material
Understanding the advantages and disadvantages of each material can guide you in making an informed decision.
| Material | Pros | Cons |
|---|---|---|
| Wood |
|
|
| Fiberglass |
|
|
| Plastic |
|
|
Consider your priorities: Are you building for beauty, performance, or practicality? Each material offers something different. Choosing wisely could mean the difference between a kayak that serves you well for years and one that doesn’t meet your expectations. What matters most to you in your kayaking experience?
Gathering Essential Tools
Gathering essential tools is crucial to building a kayak efficiently. Ensure you have saws, clamps, and measuring tapes ready. These tools help in shaping and assembling the kayak parts accurately.
Gathering Essential Tools Before starting your kayak building journey, gather all necessary tools. Proper tools make the process smoother and more enjoyable. Having them ready ensures you can focus on building without interruptions. Whether you’re a beginner or experienced, tools are crucial for success.Basic Tools Needed
Begin with essential tools that every builder should have. A measuring tape ensures accurate dimensions. Use a pencil for marking cuts and measurements. A handsaw or jigsaw is vital for cutting wood pieces. Sandpaper smooths rough edges and surfaces. Keep a screwdriver set handy for assembling parts. A drill helps with making precise holes and fastening screws. Clamps secure pieces while you work, ensuring stability.Specialized Equipment
Some tools are specific to kayak building. A block plane helps shape wood smoothly. A rasp refines edges and contours. Fiberglass cloth and resin are needed for waterproofing. A heat gun is useful for molding certain materials. A marine epoxy provides strong bonding for joints. A set of chisels assists in detailed woodwork. A steamer can help bend wood into curved shapes. A router offers precision cutting for intricate designs.Designing Your Kayak
Crafting your own kayak offers a unique adventure. Choose quality materials for durability and performance. Customize design to suit your style and needs.
Building a kayak from scratch is a rewarding endeavor, offering both the satisfaction of crafting something with your hands and the thrill of customizing it to your needs. Designing your kayak is a crucial step in this journey. It involves selecting the right design and tailoring features to match your preferences. Let’s dive into the nuances that make this process both exciting and essential.Selecting A Design
Choosing the design of your kayak is akin to setting the foundation of a house. It’s essential to consider where you plan to use it—calm lakes, fast rivers, or open seas. Each environment demands different features. Do you want speed or stability? A longer kayak offers speed but might be challenging for beginners. A wider base provides stability, perfect for fishing or photography. Think about your skill level and the primary use of your kayak to guide your choice. Consider your personal style and aesthetic preferences. Would you like a sleek, minimalist design or something more traditional and rustic? Your kayak should not only function well but also reflect your personality and taste.Customizing Features
Now, let’s talk features. This is where your creativity shines. How about adding a waterproof compartment for your gear? Or perhaps a built-in rod holder for fishing enthusiasts? Material selection is crucial. Lightweight fiberglass is excellent for easy transport, while durable polyethylene can withstand rougher waters. Tailor your choice to your needs and environment. Don’t forget comfort. Adjustable seating and footrests can transform a long day on the water from a chore to a pleasure. Consider ergonomic designs to enhance your paddling experience. Have you thought about colors? A bright, bold color can make your kayak stand out, while earthy tones might blend with nature. Your choice could be strategic or purely aesthetic—it’s up to you. As you design your kayak, ask yourself: How will these features enhance my experience on the water? What unique additions can make my kayak truly mine? These questions ensure your design is not only practical but personal.
Credit: www.paddlinglight.com
Creating The Frame
Crafting the frame of a kayak involves selecting durable materials like wood or aluminum. Precision cutting and securing ensure stability and balance on water. Careful assembly is key to a sturdy and functional kayak.
Creating the frame of a kayak is a vital step in its construction. This phase defines the shape and strength of your kayak. A well-constructed frame ensures stability and durability on water. This guide will walk you through creating a robust frame.Constructing The Skeleton
Start by selecting lightweight, strong wood like cedar or ash. These woods offer flexibility and resilience. Cut the wood into long strips for ribs and gunwales. The gunwales form the top edges of the kayak. Ribs provide the curved shape and internal support. Use a jig to bend the ribs. Secure them to the gunwales with clamps. This creates the basic skeleton of the kayak. Ensure each rib is evenly spaced.Reinforcing Joints
Properly reinforced joints enhance the kayak’s strength. Use epoxy resin to bond joints securely. Apply resin generously at each joint. Let it cure completely before moving on. Check each joint for gaps or weak spots. Fill gaps with wood shavings and more resin. This ensures a tight, secure bond. Test the rigidity of the frame. It should be firm and not wobble. Reinforced joints help withstand water pressure and wear.Building The Hull
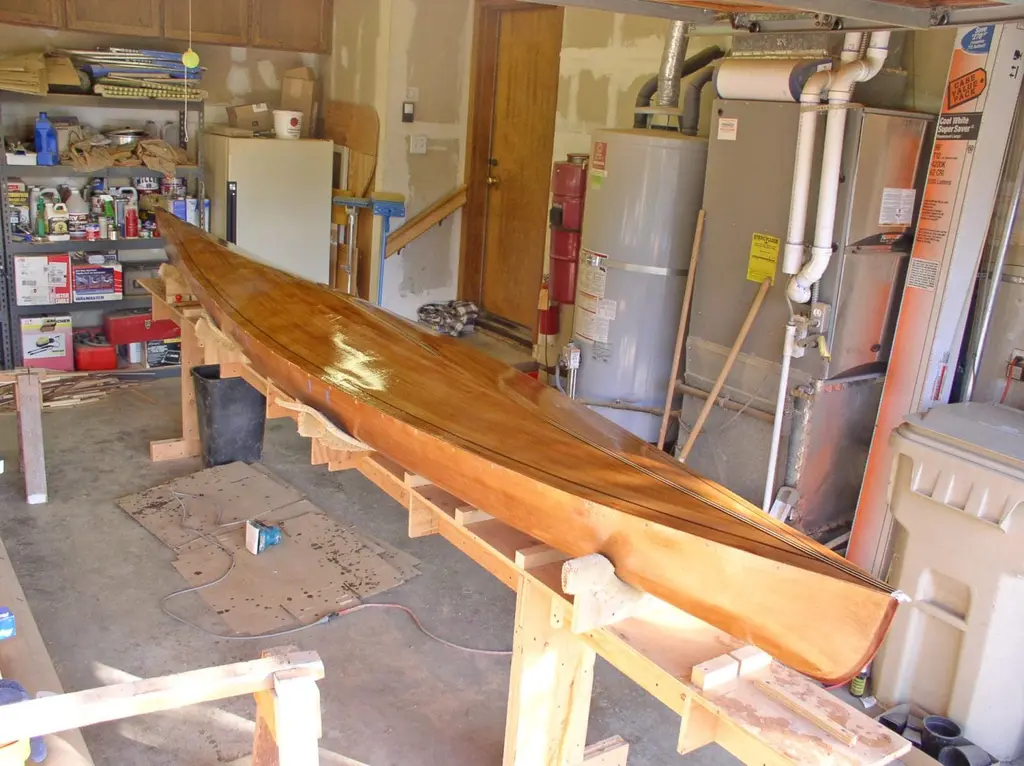
Crafting a kayak hull involves shaping and assembling the main body of the vessel. This process includes selecting durable materials and ensuring a streamlined design for smooth water navigation. Properly sealing joints and edges guarantees the kayak remains watertight and ready for adventure.
Building the hull of a kayak is an exciting step in your DIY adventure. This is where your kayak starts to take shape, and you can see your efforts come to life. The hull is crucial as it determines how your kayak will perform on water.Shaping The Bottom
Creating the bottom of your kayak is all about precision and patience. Start by selecting high-quality marine plywood or a similar material that offers durability. Lay the plywood flat and mark the outline of your kayak’s bottom using a template or design plan. Cut along the lines carefully to maintain the shape and dimensions. Sand the edges smoothly to ensure there are no sharp corners. Consider the water conditions you will be navigating. A flatter bottom provides stability, ideal for calm waters, while a more V-shaped design cuts through waves efficiently.Attaching The Sides
With the bottom shaped, it’s time to bring your kayak to life by attaching the sides. Use clamps to hold the plywood sides against the bottom piece. Drilling pilot holes along the edges will prevent the wood from splitting when you screw or nail them together. Apply a waterproof adhesive between the joints for added security. As you attach the sides, ensure they are aligned properly to avoid any twists or warps. Stand back occasionally to check the symmetry and make adjustments if necessary. Are you ready to see your kayak come together? Each screw and nail brings you closer to gliding on the water.Adding Seats And Cockpit
Adding seats and a cockpit enhances comfort and control in your kayak. Position seats securely for balance. Ensure the cockpit is snug, offering support and safety.
Adding seats and a cockpit to your kayak is where comfort meets functionality. This step can make or break your kayaking experience. Having spent countless hours paddling through serene waters, I’ve realized the importance of a well-designed seat and cockpit. They not only enhance your comfort but also improve your control over the kayak. Imagine gliding smoothly with the perfect fit that supports your back and allows for easy maneuvering. It’s all about creating a space that feels personal and efficient.Installing Seats
The seat is your throne on the water, ensuring comfort during long paddling sessions. Start by choosing a seat that suits your paddling style—high-back seats offer more support, while low-back seats provide greater freedom of movement. Consider using adjustable seats for personalized comfort. Many kayakers prefer seats with padding, which can be a game-changer during extended trips. Secure the seat firmly to avoid any wobbling. Use stainless steel screws or bolts to withstand harsh water conditions. Remember, stability is key to preventing fatigue and improving paddling efficiency.Crafting The Cockpit
The cockpit is your command center. It’s where you control the kayak and navigate the waters. Measure the cockpit opening carefully; it should be snug but not restrictive, allowing easy entry and exit. Think about the positioning of the cockpit rim. It should support your legs and provide a tight seal to prevent water from entering. Consider adding a spray skirt to keep dry during rough paddling conditions. This small addition can transform your kayaking experience, especially in unpredictable weather. Ask yourself, how can you optimize the cockpit for better control? Position the foot braces to support your paddling posture, enhancing your kayak’s responsiveness. Building a kayak’s seat and cockpit is about creating a personalized haven on water. How will you make yours uniquely comfortable and efficient?Finishing Touches
As you approach the final stages of building your kayak, the finishing touches can make all the difference in both aesthetics and functionality. It’s these details that transform your creation from a mere vessel into a personalized masterpiece, ready for the water. Whether you’re smoothing out the surfaces or adding the last bits of flair, this is your chance to infuse your kayak with personal style and ensure it performs optimally.
Sanding And Painting
Sanding is the first step in achieving that smooth and sleek finish. It’s essential to ensure the surface is even, removing any rough edges or imperfections. Start with a coarse-grit sandpaper to tackle larger bumps, then gradually move to finer grits for a polished look.
Painting allows for creativity. Choose a color that reflects your personality or helps in visibility on the water. Consider using marine-grade paint for durability against the elements. A fresh coat not only protects the kayak but also adds an appealing visual touch.
Have you ever considered adding patterns or decals? This can make your kayak stand out and reflect your unique style. Just remember, whatever you choose, ensure the paint is waterproof and can withstand sunlight.
Adding Accessories
Accessories can enhance your kayaking experience significantly. Consider adding comfortable seating for those long paddles. Adjustable seats can make a world of difference in comfort and control.
Think about storage options for your gear. Waterproof compartments can keep your belongings safe and dry. Extra hooks and bungee cords on the deck can provide quick access to essentials.
Safety should also be a priority. Mounting a compass or GPS can aid navigation, while reflective strips can increase visibility. What accessories will make your kayaking trips more enjoyable and secure?
Finally, test your kayak with all accessories attached to ensure balance and functionality. Adjust as needed to optimize performance and comfort.
Testing Your Kayak
Testing your kayak ensures its stability and buoyancy. Paddle through calm waters first to check for leaks. Adjust any fittings or seats as needed for comfort and performance.
Testing your kayak is an essential step in the building process. Ensuring your kayak’s safety and performance is crucial before hitting the waters. This phase involves conducting thorough safety checks and performing a trial run. Each step guarantees that your kayak is ready for use.Safety Checks
Before launching, examine your kayak for any visible defects. Check for cracks or weak spots on the hull. Ensure all screws and bolts are tightened securely. Inspect the seams for any signs of leaks. Verify that the seating is stable and comfortable. All safety gear should be in place and functional.Trial Run
Start your trial run in calm, shallow waters. Test the kayak’s balance by gently rocking side to side. Practice basic paddling to assess control and maneuverability. Pay attention to the kayak’s speed and responsiveness. Make adjustments based on how the kayak handles. This trial ensures confidence and safety on future adventures.Maintenance And Care
Regular cleaning keeps your kayak in good shape. Store it in a dry, shaded place to prevent damage. Inspect for any cracks or loose parts before and after each use.
Building your own kayak is a rewarding project, but it doesn’t end once you hit the water. Maintaining and caring for your kayak ensures it stays seaworthy for years. A well-cared-for kayak not only performs better but also keeps you safe during your adventures. Let’s dive into some essential maintenance tips and storage solutions to prolong the life of your handcrafted vessel.Regular Maintenance Tips
Regular maintenance keeps your kayak in top shape and ready for action. After each trip, rinse your kayak with fresh water to remove salt, sand, and grime. It might seem like a small step, but it prevents the build-up of abrasive particles that can wear down the surface. Inspect your kayak regularly for signs of wear and tear. Check for cracks or dents and repair them promptly to avoid further damage. Use a patch kit for minor repairs; it’s a quick fix that can save you from bigger issues later. Keep the hardware tight and secure. Loose screws and bolts can lead to structural issues or even cause parts to detach during a trip. A simple check before and after each outing ensures everything is as it should be.Storage Solutions
Storing your kayak properly is as crucial as maintaining it. Exposure to sun and weather can degrade materials over time. Consider investing in a kayak cover to protect it from UV rays and rain. If possible, store your kayak indoors. A garage or shed provides a safe environment away from harsh elements. If indoor storage isn’t an option, ensure your kayak is stored off the ground and under a protective tarp. Avoid hanging your kayak by the handles for long-term storage. This can cause deformation. Instead, use wide straps that distribute the weight evenly to maintain the kayak’s shape. By incorporating these maintenance and storage practices, you ensure your kayak remains a trusty companion on all your water adventures. Is there a specific maintenance routine you swear by? Share your tips and tricks in the comments below!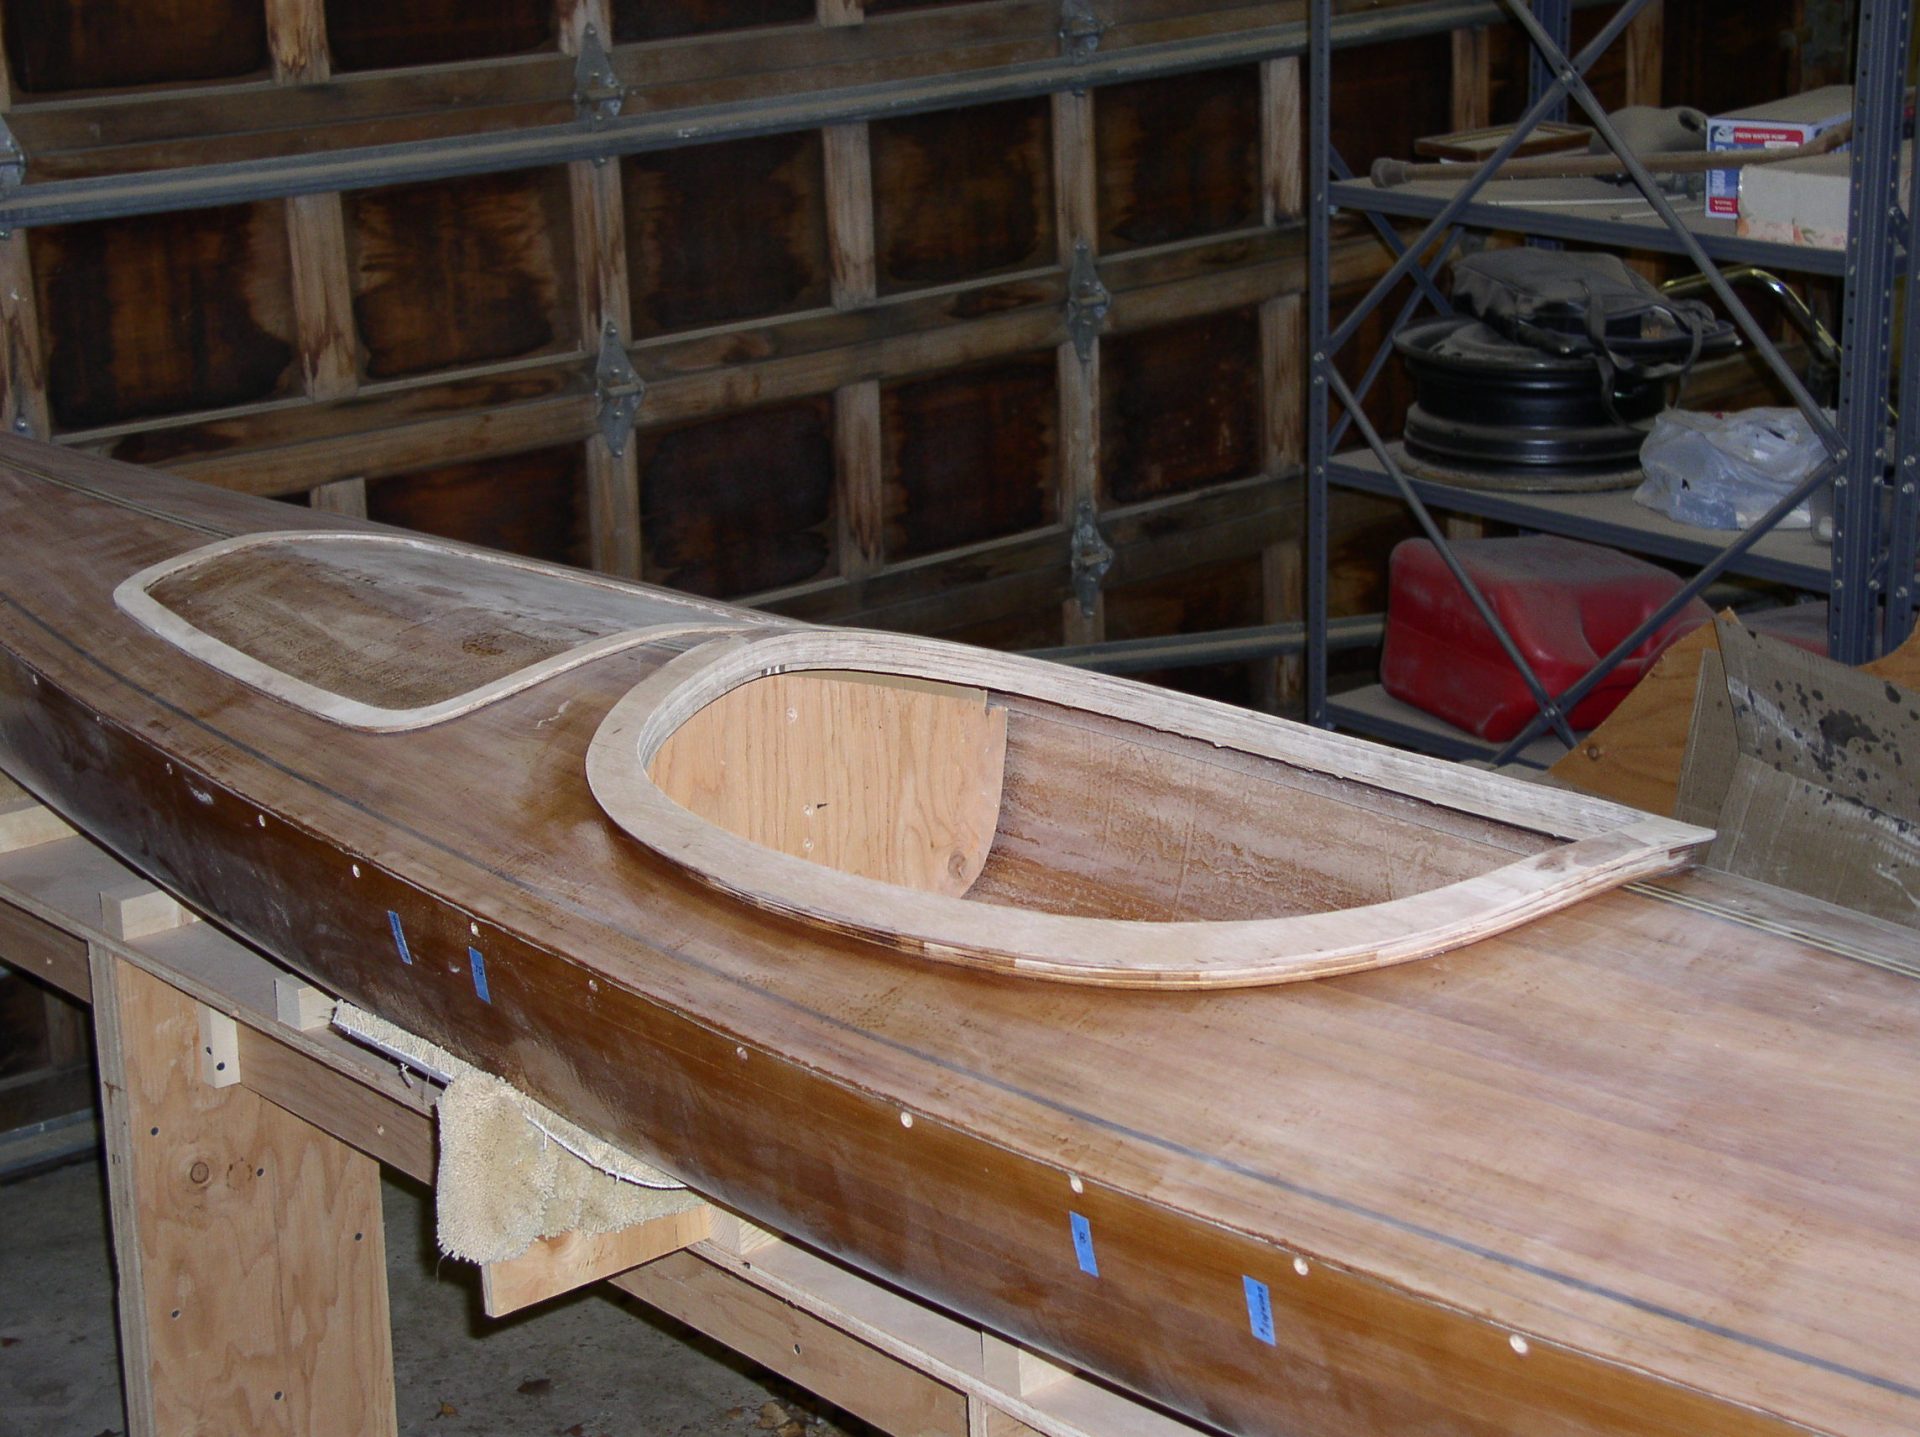
Credit: www.epoxyworks.com
Credit: www.epoxyworks.com
Frequently Asked Questions
How Much Does It Cost To Build A Kayak?
Building a kayak typically costs between $300 and $1,000. Prices vary based on materials and design complexity. Basic kits are cheaper, while custom builds with high-quality materials cost more. Budget for additional tools and accessories if needed.
Can You Make Your Own Kayak?
Yes, you can build your own kayak. Use kayak kits or plans available online. Choose materials like wood or fiberglass. Gather necessary tools and follow step-by-step instructions. Personalize your design for a unique touch. Building your own kayak can be rewarding and cost-effective.
Enjoy your handcrafted kayak adventure!
What Is The Best Wood For A Kayak?
Cedar is the best wood for kayaks. It is lightweight, durable, and resistant to water damage. Many builders prefer cedar for its flexibility and ease of shaping. Its natural beauty also enhances the kayak’s appearance. Use cedar for a reliable and attractive kayak.
What Are The Three Golden Rules Of Kayaking?
Wear a life jacket for safety. Check weather and water conditions before kayaking. Respect wildlife and the environment.
Conclusion
Building a kayak offers adventure and creativity. It’s a rewarding journey. You learn about materials, tools, and techniques. Each step brings excitement and satisfaction. Crafting your kayak means personalization. You choose the design and colors. The experience is hands-on and fulfilling.
You gain skills and confidence. This project is about exploration. Both in making and using the kayak. The process enriches your life. It’s about patience and passion. Embrace the challenge. Enjoy the final product. Paddle into new waters. Your kayak awaits.
Ready for adventure. Crafted by your own hands.