
Are you ready to elevate your kayaking adventures by adding a trolling motor to your kayak? Imagine gliding effortlessly across the water, reaching your favorite fishing spots faster, or simply enjoying a leisurely ride without the need to paddle tirelessly.
Mounting a trolling motor on your kayak can transform your experience, making it more enjoyable and less physically demanding. But before you dive into this exciting upgrade, you might wonder where to start and how to do it correctly. In this guide, you’ll discover the straightforward steps to mount a trolling motor on your kayak.
We’ll break down the process into easy-to-follow instructions, ensuring you feel confident and prepared. Whether you’re a seasoned kayaker or a beginner, this guide will help you make the most of your kayaking adventures. So, let’s get started on this journey to enhance your time on the water!

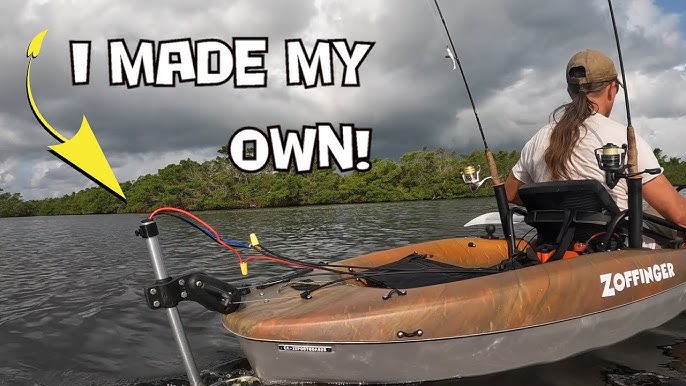
Credit: www.facebook.com
Choosing The Right Trolling Motor
Mounting a trolling motor on a kayak enhances fishing adventures. Ensure stability with a sturdy mount kit and secure it firmly. Position the motor for easy access and balance, maximizing efficiency and maneuverability.
Choosing the right trolling motor for your kayak can significantly impact your fishing experience. It’s not just about thrust; it’s about finding a balance between power, size, and convenience. Making an informed choice involves understanding the different types of motors available and how they fit your kayaking needs. Let’s dive into the specifics that will help you pick the perfect trolling motor for your kayak adventure.Types Of Trolling Motors
Different types of trolling motors offer varying benefits based on your specific requirements. There are two main categories: electric and gas-powered. Electric trolling motors are popular for their quiet operation, which is ideal for sneaking up on fish. They are also environmentally friendly and require less maintenance compared to gas motors. Gas-powered motors, on the other hand, offer more power and longer range, making them suitable for larger bodies of water. Consider where you’ll be kayaking most often to decide which type suits your needs.Motor Size Considerations
Motor size is crucial for maintaining your kayak’s maneuverability and speed. A motor that’s too powerful can overpower your kayak, making it difficult to handle. Conversely, a motor that’s too weak won’t provide the necessary thrust to navigate strong currents or windy conditions. Typically, a kayak requires a motor with 30 to 55 pounds of thrust. Assess the size and weight of your kayak and match it with a motor that complements its specifications. Wouldn’t you want a motor that enhances your kayaking experience rather than complicates it?Power Source Options
The power source of your trolling motor plays a significant role in its performance and convenience. Most electric motors are powered by rechargeable batteries, which are available in various voltages. A 12-volt battery is sufficient for light use, while a 24-volt battery provides more power for extended trips. Additionally, solar panels can be an eco-friendly option to keep your battery charged during lengthy outings. Think about how far you plan to travel and how long you’ll be on the water. Your power source choice should align with your adventure goals and environmental considerations.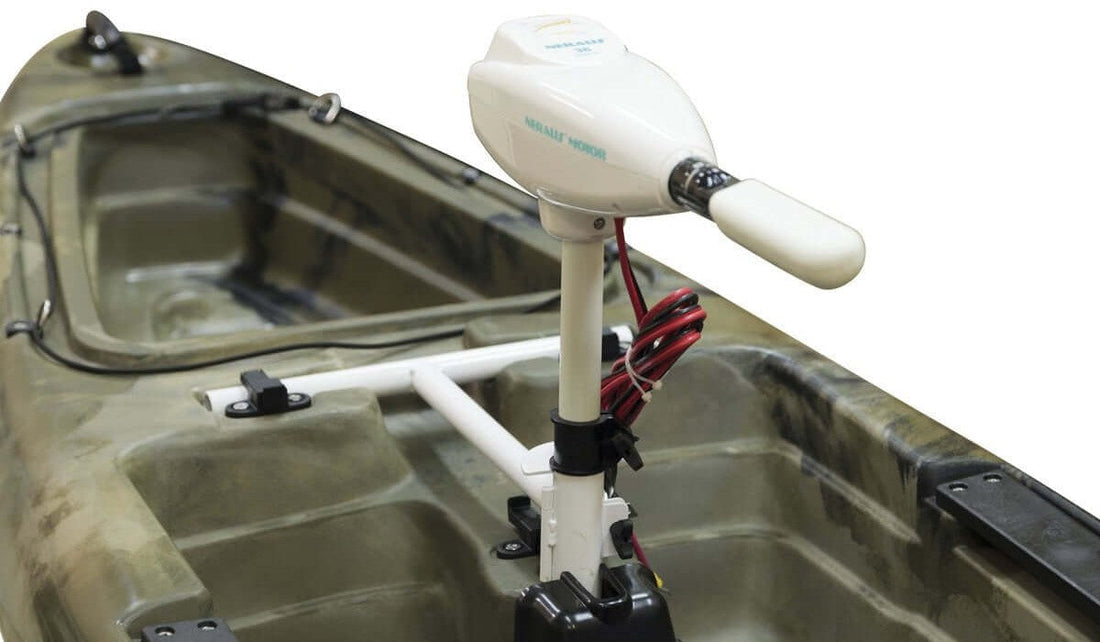
Credit: brooklynkayakcompany.com
Preparing Your Kayak
Mounting a trolling motor on a kayak requires careful preparation. Secure the motor mount firmly to ensure stability. Check all connections and wiring before venturing onto the water.
Preparing your kayak for a trolling motor is a crucial step. It ensures a smooth and hassle-free installation. Before diving into the actual mounting process, take some time to get your kayak ready. This preparation involves assessing the kayak’s structure, gathering necessary tools, and following safety precautions. Each step is vital for a successful installation.Assessing Kayak Structure
Start by checking the kayak’s build and design. Look for a flat area at the stern or bow. This spot should be strong enough to support the motor. Check for any existing mounts or brackets. Ensure the kayak’s material can handle drilling, if necessary. Different kayaks have varied structures. Some might need additional support for the motor.Necessary Tools And Materials
Gather all required tools and materials beforehand. This will make the installation process smoother. You will need:- Drill and drill bits
- Wrench set
- Mounting bracket
- Screws and bolts
- Sealant to prevent water leakage
Safety Precautions
Safety should always be your priority. Wear protective gear, like gloves and goggles. Keep your workspace clean and organized. Avoid distractions while working. Be cautious when using power tools. Follow the manufacturer’s instructions carefully. This reduces the risk of injury and ensures a proper installation.Mounting Techniques
Secure the motor mount firmly on the kayak’s stern for balance. Attach the trolling motor, ensuring it’s tightly fixed. Connect the battery, keeping cables organized and away from water.
Mounting a trolling motor on your kayak can transform your paddling experience, giving you the power to glide effortlessly across the water. Whether you’re looking to enhance your fishing trips or simply enjoy a leisurely ride, choosing the right mounting technique is crucial. Let’s dive into the different ways you can mount a trolling motor to optimize your kayak adventures.Transom Mounting
Transom mounting is popular for its simplicity and effectiveness. This technique involves attaching the motor to the rear of the kayak. It’s a straightforward method, allowing for easy control and steering. Using a sturdy mount bracket, secure the motor onto the kayak’s stern. Ensure it’s tight to prevent wobbling, which can affect performance. Many kayakers prefer this method for its unobtrusive placement, leaving the bow free for storage or fishing gear. Think about the stability and weight distribution. How will the motor’s position affect your kayak’s balance? You might notice a slight tilt towards the rear, but adjusting your gear placement can counteract this.Bow Mounting
Bow mounting offers greater precision, often favored by anglers needing sharp turns and quick adjustments. This method positions the motor at the front of the kayak. Use a specialized mounting bracket designed for the kayak’s bow. These brackets often come with adjustable features to fit various kayak shapes. Installing a motor here might seem tricky at first, but the enhanced control it offers is worth the effort. Consider the impact on your kayak’s aerodynamics. Will the weight at the front affect your paddling speed when the motor isn’t in use? It’s a trade-off between control and speed, something to ponder before choosing this setup.Side Mounting
Side mounting is versatile, allowing easy access and maneuverability. This technique attaches the motor to either side of the kayak. Using a side mount bracket, install the motor securely. This position provides quick access for adjustments and is ideal for kayakers who frequently change direction. It’s less common but can be a game-changer for those needing flexibility. Reflect on the spatial impact. Will the motor’s side position interfere with your paddle stroke or gear placement? It’s vital to test the setup to ensure it complements your paddling style without hindrance. Each mounting technique offers unique benefits and challenges. Which one aligns with your kayaking goals? Consider your needs and preferences, then select the method that will elevate your water adventures.Wiring And Connections
Ensure all wiring is waterproof to prevent damage. Connect the motor using suitable marine-grade connectors for reliability.
Mounting a trolling motor on your kayak can transform your paddling adventures, allowing for easier navigation and longer trips. However, ensuring proper wiring and connections is crucial for your motor’s performance and safety. This section guides you through the key steps to power up your kayak with confidence.Battery Installation
Choosing the right battery is essential for your trolling motor. Opt for a deep-cycle marine battery, as it provides steady power for extended periods. Secure the battery in a waterproof container to protect it from water splashes. Position it in the kayak’s center to maintain balance and stability. Ensure the battery is easily accessible for charging and maintenance. Use battery straps or holders to keep it firmly in place during your journey.Cable Management
Organizing your cables is crucial to prevent tangling and potential damage. Use zip ties or cable clips to keep the wiring neat and secure along the kayak’s hull. Consider the length of the cables. They should be long enough to reach the motor without being excessively loose. Route the cables away from sharp edges or moving parts to avoid wear and tear.Testing Electrical Connections
Before hitting the water, it’s vital to test all electrical connections. Connect the battery to the motor using the appropriate connectors. Turn on the motor briefly to check if it operates smoothly. Listen for any unusual noises or vibrations. If the motor doesn’t start, double-check your connections and ensure the battery is fully charged. Troubleshooting now saves you from surprises on the water. Mounting a trolling motor on a kayak opens up new possibilities for exploration. Is your kayak ready for the upgrade?Balancing And Stability
Achieving balance and stability is key when mounting a trolling motor on a kayak. Secure the motor to the kayak’s stern for optimal performance. Ensure even weight distribution to prevent tipping and enhance maneuverability.
Balancing and stability are crucial when adding a trolling motor to your kayak. These factors ensure a smooth and safe ride. Proper balance prevents tipping and enhances control on the water. Achieving stability involves careful adjustments and enhancements.Weight Distribution
Distribute weight evenly across the kayak. Place heavier items, like the battery, in the center. This prevents the kayak from tilting to one side. Keep gear balanced to maintain a steady ride. Consider using gear bags to manage weight. They help in organizing and evenly spreading load.Adjusting Motor Position
Position the motor for optimal balance. Mount it towards the rear for better control. Ensure it’s not too far back. This could cause the front to lift. Adjust the angle to minimize drag. A well-angled motor enhances speed and efficiency. Test different positions to find the best setup.Stability Enhancements
Enhance stability with additional features. Use kayak outriggers for extra support. They increase the width, reducing the risk of tipping. Consider adding a stabilizer bar. It provides a stable platform for standing or fishing. Upgrade your kayak seat for better balance. A higher seat offers a better view and stability.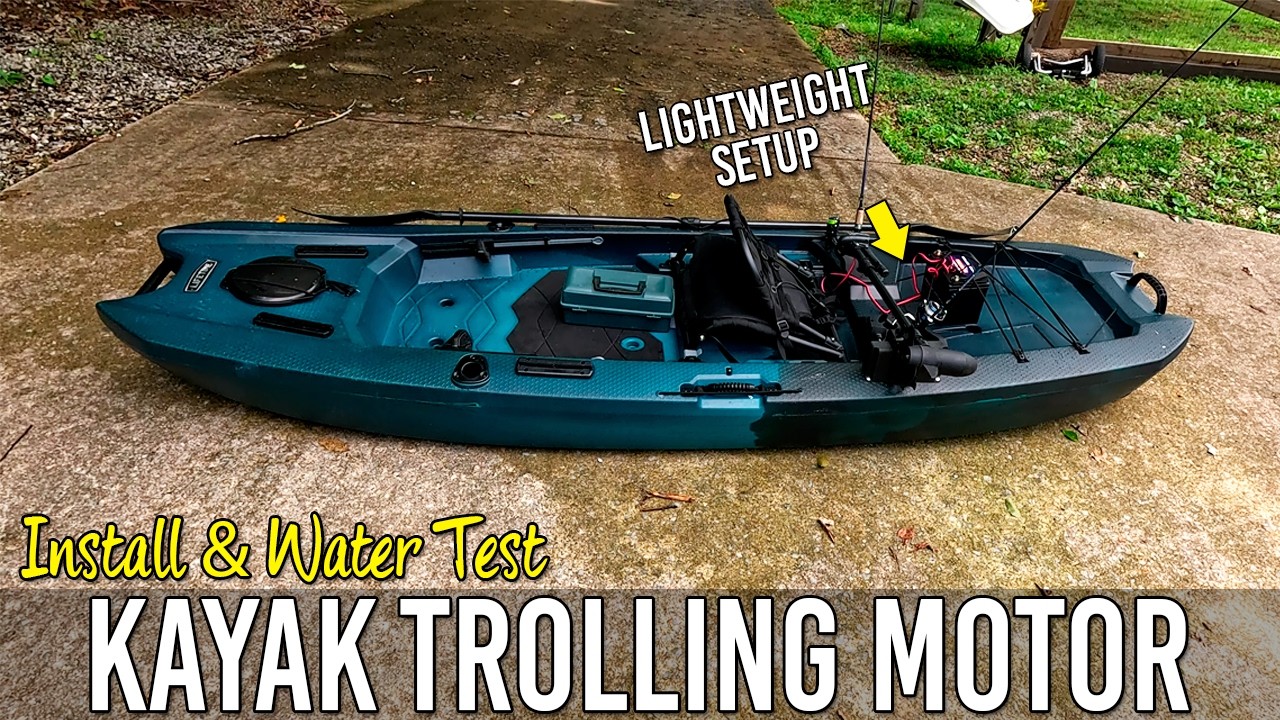
Credit: www.youtube.com
Maintenance Tips
Once you’ve successfully mounted a trolling motor on your kayak, ensuring its longevity and optimal performance is crucial. Regular maintenance can save you from unexpected hiccups while on the water. Here are some practical tips to help you keep your trolling motor in top shape and ready for adventure.
Regular Inspections
Make it a habit to check your trolling motor before every trip. Inspect the propeller for any debris or fishing line that might be tangled around it. Ensure the mounting hardware is secure. A loose bolt can turn a serene kayaking trip into a frustrating experience. Consider creating a checklist to streamline your inspections, making it easy to spot potential issues early.
Cleaning And Lubrication
After each outing, clean your trolling motor thoroughly. Saltwater can be particularly corrosive, so rinse the motor with fresh water to prevent damage. Dry it properly to avoid rust. Lubricate moving parts regularly. This simple task can prevent wear and tear, ensuring smooth operation. A well-maintained motor not only performs better but also extends its lifespan.
Troubleshooting Common Issues
Are you experiencing unexpected performance drops? Check the battery connections. Loose or corroded terminals can lead to power loss. Listen for unusual sounds during operation—grinding noises may indicate a problem with the propeller or shaft. If your motor suddenly stops working, inspect the wiring for any signs of damage. Keeping a basic repair kit handy can be a lifesaver during unexpected breakdowns.
Remember, the key to a trouble-free kayaking experience is proactive maintenance. What steps will you take to ensure your trolling motor remains reliable on your next adventure?
Frequently Asked Questions
Where Is The Best Place To Mount A Trolling Motor On A Kayak?
Mount the trolling motor on the kayak’s stern or bow for optimal performance. Ensure stability and easy access for controls. Securely attach the motor using appropriate mounts or brackets. Positioning affects maneuverability and speed. Test placement to find the best balance for your kayak.
Can You Mount A Trolling Motor To A Kayak?
Yes, you can mount a trolling motor to a kayak. Use a suitable mount or bracket designed for kayaks. Ensure the kayak is stable and balanced. Check compatibility between the motor and kayak. Follow manufacturer instructions for safe installation. Enjoy enhanced maneuverability and speed on the water.
Is It Worth Putting A Trolling Motor On A Kayak?
Adding a trolling motor to a kayak can enhance speed and maneuverability. It simplifies fishing and long-distance paddling. Installation is straightforward, and battery life is typically sufficient for extended outings. Consider weight capacity and balance to ensure safety and optimal performance.
How Deep Should A Trolling Motor Be In The Water On A Kayak?
A trolling motor on a kayak should be submerged 12 inches below the water’s surface. This depth ensures optimal performance and minimizes noise. Adjust the motor based on water conditions for smooth navigation and improved efficiency.
Conclusion
Mounting a trolling motor on a kayak can enhance your fishing experience. With the right tools, it’s a straightforward process. Start by choosing the right motor for your kayak’s size. Follow steps carefully for a secure setup. Double-check all connections and test before heading out.
Enjoy smoother navigation and longer trips on the water. Feel the excitement of fishing with ease. Remember, practice makes perfect. Keep safety in mind always. Now, you’re ready to explore more waters with your kayak. Happy fishing!


