
Ever find yourself kayaking in the great outdoors, surrounded by tranquil waters but struggling to locate the best fishing spots? You’re not alone.
Many kayaking enthusiasts face the same challenge. Imagine gliding effortlessly through the water, your trusty paddle in hand, with a fish finder at your side revealing all the hidden treasures beneath. Installing a fish finder on your kayak can turn this dream into reality, but where do you start?
Understanding how to mount a fish finder on your kayak can seem daunting, but it doesn’t have to be. With a few simple steps, you can transform your kayaking experience and increase your fishing success. Intrigued? Let’s dive into the details and unlock the secrets to mastering this essential skill.
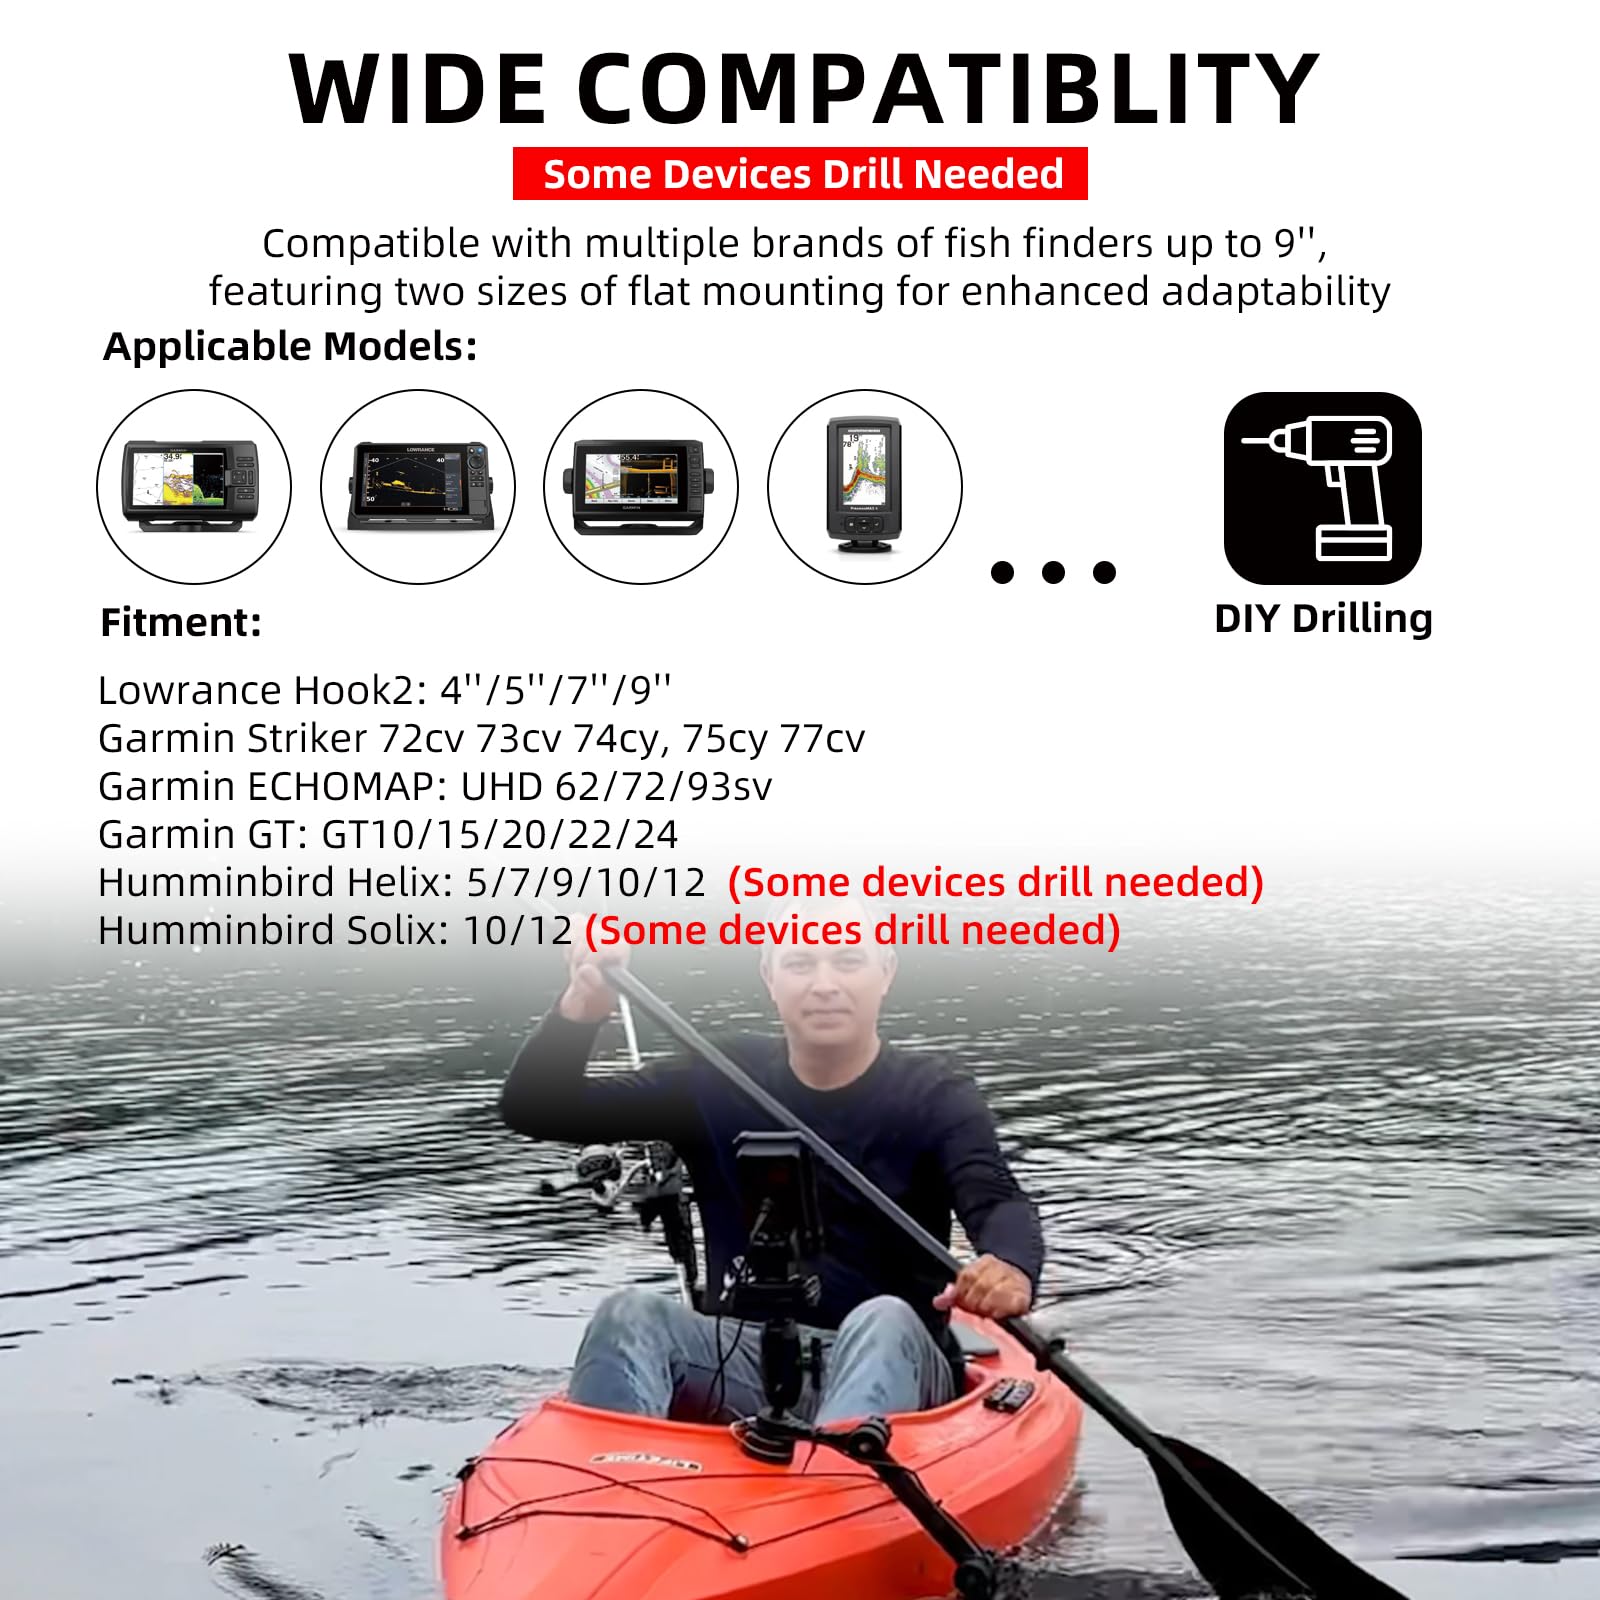
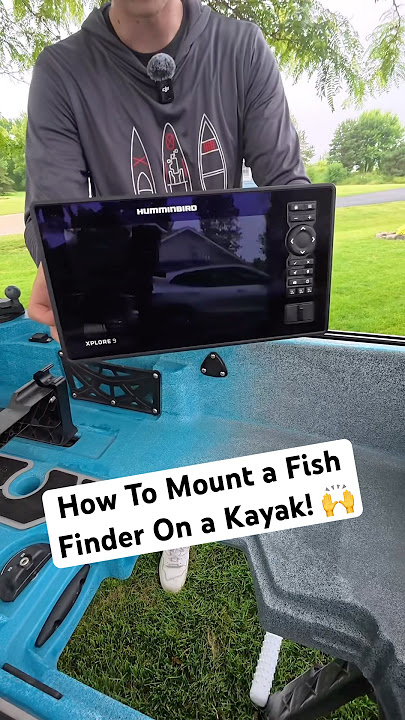
Credit: www.amazon.com
Choosing The Right Fish Finder
Choosing the right fish finder for your kayak is essential for a successful fishing trip. A fish finder helps you locate fish beneath the water’s surface, enhancing your fishing experience. But with so many options available, how do you decide which one is best for your kayak? Understanding the key factors and types of fish finders can make this decision easier.
Considerations For Kayak Fishing
Kayaks have limited space and weight capacity. Choose a compact and lightweight fish finder. Ensure it’s waterproof to withstand splashes and rain. Battery life is crucial. You don’t want it dying mid-trip. Look for a model with a long-lasting battery. Consider the display size. A larger screen is easier to read in sunlight. But it shouldn’t be too large for your kayak. GPS features can help track your location. It’s useful for navigating unfamiliar waters.
Types Of Fish Finders
There are several types of fish finders to consider. Portable fish finders are easy to move and store. They’re ideal for kayaks with limited space. Fixed mount fish finders are more stable. They’re mounted directly onto the kayak. Castable fish finders are lightweight. You cast them into the water with your fishing line. They send data back to your smartphone. Side imaging fish finders provide detailed views of the water. They show fish and structures on both sides of your kayak. Down imaging fish finders focus directly below your kayak. They offer clear images of fish and underwater features.
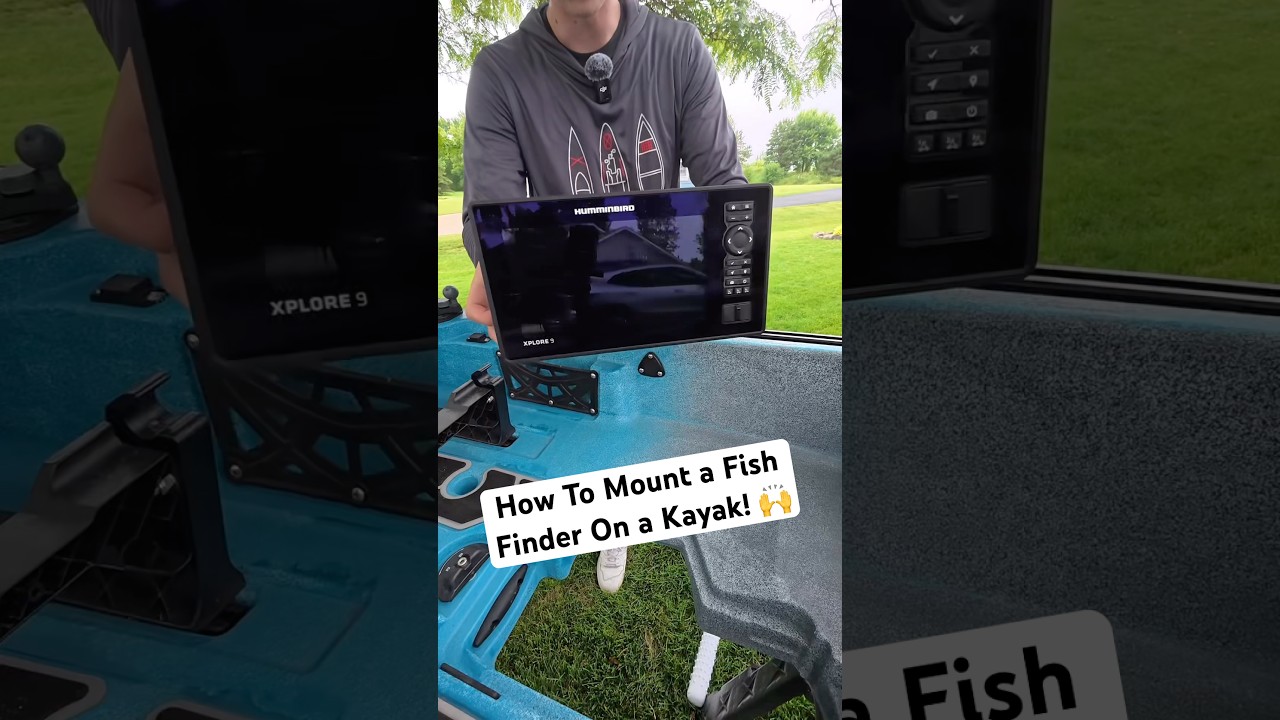
Credit: www.youtube.com
Essential Tools And Materials
Essential tools include a drill, screwdriver, and marine adhesive. Necessary materials are mounting brackets and waterproof sealant.
Mounting a fish finder on your kayak can transform your fishing adventures by providing crucial underwater insights. But to get started, you’ll need the right tools and materials. Having everything ready ensures a smooth installation process and helps you avoid unnecessary stress. Let’s dive into what you’ll need to make this task as seamless as possible.Tools Required
Having the right tools at your disposal can make the mounting process efficient and hassle-free. Here’s a list of tools you should gather: – Drill and Drill Bits: Essential for making precise holes to secure the fish finder and transducer. – Screwdriver Set: Useful for attaching screws and making any necessary adjustments. – Measuring Tape: Ensures accurate placement of the fish finder for optimal performance. – Marker or Pencil: Handy for marking drilling spots and alignment points. – Pliers: Useful for tightening bolts and nuts securely. – Wire Stripper: Necessary if you need to adjust the length of any wires. Do you have these tools ready? If not, a quick trip to your local hardware store can set you on the right path.Materials Needed
Beyond tools, certain materials are vital to ensure the fish finder is securely and effectively mounted. Here’s what you’ll need: – Fish Finder Mounting Bracket: This is the base that holds your fish finder in place. – Transducer Mount: Ensures the transducer is correctly positioned in the water. – Screws and Bolts: Used to fasten the fish finder and other components to the kayak. – Marine Sealant: Provides waterproof sealing around drilled holes to prevent leaks. – Cable Ties or Clamps: Keep your cables organized and out of the way. Having these materials ready will make the installation process smoother and more enjoyable. And while it might seem like a lot, think of the satisfaction you’ll feel when your fish finder is securely mounted, ready to enhance your next fishing trip. Are you excited to see what’s beneath the surface?Preparing The Kayak
Mounting a fish finder on a kayak requires careful planning and the right tools. Ensure the kayak is balanced and stable before installation. Secure the device firmly to avoid water damage and enhance fishing efficiency.
Preparing your kayak for mounting a fish finder is crucial. A well-prepared kayak ensures a secure and effective setup. Before starting, gather all necessary tools and materials. This helps in a smooth installation process.Cleaning The Surface
Clean the surface where the fish finder will be mounted. Use mild soap and water for this task. Remove any dirt, grime, or old adhesive residues. Ensure the area is dry before proceeding. A clean surface promotes better adhesion and stability.Identifying Mounting Locations
Identify suitable locations for mounting the fish finder. Consider accessibility and visibility while paddling. Common spots include the kayak’s deck or side rails. Ensure the chosen spot doesn’t interfere with paddling or other equipment. Mark the location once you’ve decided on the best spot. This will guide you during installation.Installing The Fish Finder Mount
Find a stable spot on your kayak for the fish finder mount. Drill holes and secure the mount using bolts. Ensure the device is tightly fastened to prevent movement during your fishing trips.
Installing the Fish Finder Mount Mounting a fish finder on your kayak can transform your fishing experience, offering you a new level of insight into underwater activity. The installation process might seem daunting at first, but with a little guidance, you’ll have your fish finder securely mounted and ready to use. Let’s dive into the essential steps for installing the fish finder mount on your kayak.Selecting The Mount Type
Choosing the right mount is crucial for stability and ease of use. There are several types of mounts available, including side mounts, track mounts, and suction cup mounts. Each has its benefits, so consider your kayaking style and how frequently you plan to adjust the fish finder. Side mounts are great if you prefer a fixed position. They provide a stable base and are less likely to shift during your trip. Track mounts, on the other hand, offer more flexibility, allowing you to slide the fish finder along the track to your preferred location. Suction cup mounts are perfect for those who want a temporary setup or have multiple kayaks.Securing The Mount
Once you’ve chosen the right type of mount, it’s time to secure it to your kayak. Begin by selecting a flat, accessible spot on your kayak, ensuring it won’t interfere with your paddling or other equipment. A dry run can help you visualize the best placement. Use the hardware provided with your mount, which typically includes screws or bolts. Drill pilot holes if necessary, then fasten the mount securely. Double-check that all screws are tight and that the mount feels stable. You don’t want to lose your fish finder in the middle of the lake because of a loose screw! Have you ever experienced the frustration of a piece of gear slipping or moving when you least expect it? Ensuring your mount is secure can save you from such headaches, allowing you to focus on what truly matters: catching fish.Positioning The Transducer
Mounting the fish finder transducer on a kayak is crucial for accurate readings. Choosing the right spot ensures you get clear signals underwater. Proper positioning helps avoid interference from the kayak’s hull. This guide will help you find the best location and installation techniques.
Optimal Location For Transducer
The transducer should be mounted where it won’t be blocked. Look for areas away from the kayak’s paddling path. This helps prevent turbulence affecting the readings. Many prefer the stern for a clear view and minimal disruption. You can also consider the scupper holes if your kayak design allows it.
Transducer Installation Techniques
There are different methods to install the transducer on a kayak. One popular technique is using a transducer arm. This option allows easy adjustments and less permanent mounting. Another method is through the hull installation. This requires a waterproof adhesive for secure placement. Make sure the transducer is level for accurate data.
Connecting Power Supply
Connecting Power Supply Mounting a fish finder on a kayak requires a reliable power supply connection. Secure the battery in a waterproof container. Ensure cables are neatly arranged to avoid tangling while paddling.
Connecting the power supply is crucial for your fish finder on a kayak. A reliable power source ensures the fish finder works efficiently throughout your fishing trip. You need to choose the right power source and wire it correctly. This will keep the device running smoothly. Let’s explore these steps in detail.Choosing A Power Source
Selecting the power source is the first step. A battery pack is a popular choice for kayaks. It’s compact and easy to store. Ensure the battery is waterproof and durable. Check the voltage compatibility with your fish finder. Most devices need a 12-volt battery. Lithium batteries are lightweight and have a long life span. They are ideal for kayaks. Consider the battery’s size and weight, as these affect kayak stability.Wiring The Fish Finder
Proper wiring is essential for safe operation. Start by identifying the positive and negative terminals on the battery. Use waterproof connectors to prevent water damage. Secure the wires to avoid tangling during kayak movement. Ensure the wiring is tucked away neatly. This prevents accidental disconnection. Double-check all connections for tightness. Loose connections can lead to power interruptions. Use zip ties to secure wires. Keep them organized and away from foot traffic. This ensures a clean setup.Testing The Setup
Testing the setup is crucial after mounting a fish finder on your kayak. Ensure all connections are secure and the device is functioning properly. Adjust the display settings for optimal visibility in varying conditions.
Testing the setup of your fish finder on a kayak is crucial. It ensures everything functions perfectly before you hit the water. This process involves powering on the device, calibrating it, and making necessary adjustments. These steps help to improve accuracy and performance.Initial Power On
Powering on the fish finder for the first time is exciting. Ensure the battery is fully charged and all connections are secure. Turn on the device and observe the screen. The display should be clear without any glitches. Check the menu options and familiarize yourself with settings. Confirm that the software is up to date for optimal performance.Calibration And Adjustments
Calibration ensures the fish finder gives accurate readings. Begin by checking the transducer position. It should be submerged and aligned correctly. Use the menu to access calibration settings. Adjust the sensitivity and range according to the water conditions. Test the display in different modes and make necessary tweaks. Regular adjustments enhance accuracy and functionality.Maintenance Tips
Maintaining your fish finder on a kayak is crucial for optimal performance and longevity. By dedicating a little time to regular upkeep, you ensure that your device remains reliable and functional during your fishing adventures. Here are some practical tips to keep your fish finder in top condition.
Regular Check-ups
Just like a car needs routine maintenance, your fish finder benefits from regular check-ups. Make it a habit to inspect connections and cables for signs of wear or damage. A loose wire can lead to inconsistent readings or even a device failure when you need it most. Consider setting a reminder to check these components every few trips.
It’s also wise to clean the transducer regularly. Saltwater and freshwater can leave residues that affect its performance. A simple wipe with a damp cloth can prevent buildup and ensure accurate readings. Do you notice any signs of corrosion? Address them promptly to avoid long-term damage.
Troubleshooting Common Issues
Encountering issues with your fish finder can be frustrating, especially when you’re eager to cast your line. A common problem is weak or intermittent signals. This often stems from poor connections or interference. Check if cables are securely attached and ensure the transducer is positioned correctly.
Another frequent issue is the fish finder not powering on. Before you panic, verify that the battery is charged and connections are tight. If the problem persists, test the device with a different power source. Could it be a faulty cable or battery? Identifying the cause can save you time and hassle.
If your fish finder displays inaccurate readings, calibration might be needed. Follow the manufacturer’s instructions for recalibrating the device, ensuring it provides reliable data. Don’t let a minor glitch deter your fishing plans; often, a simple fix can get you back on track.

Credit: www.hobie.com
Frequently Asked Questions
Where To Mount A Fish Finder On A Kayak?
Mount the fish finder near the seat for easy access. Use the kayak’s flat section or a special mount. Ensure it’s positioned for optimal screen visibility and minimal water exposure. Secure cables properly and check battery placement. Avoid areas obstructing paddle movement or fishing gear.
Can You Mount A Transducer Inside The Hull Of A Kayak?
Yes, you can mount a transducer inside a kayak hull. Use marine-grade silicone or adhesive for secure installation. Ensure the transducer is in direct contact with the hull for accurate readings. Proper placement helps in avoiding air bubbles and interference, enhancing performance.
How To Mount A Fish Finder Transducer Without Drilling?
Use a transducer mounting kit or adhesive bracket. Secure it with strong marine-grade adhesive. Test stability before use.
How To Properly Mount A Fish Finder Transducer?
Mount the transducer on the boat’s transom, below the waterline. Ensure it’s parallel to the water for accurate readings. Avoid mounting near obstacles or turbulence sources. Use marine-grade sealant to prevent leaks. Regularly check and adjust the alignment for optimal performance.
Conclusion
Mounting a fish finder on your kayak enhances your fishing experience. It helps locate fish easily. Follow the steps carefully for a successful setup. Secure all components properly to avoid accidents. Consider the kayak’s design when choosing a mounting location.
A stable setup ensures accurate readings. Test the device in shallow water first. Adjust as needed for clear visibility. Regular maintenance keeps the fish finder working well. Now, you’re ready for a rewarding fishing adventure. Enjoy your time on the water, and catch more fish with your new setup!


